Chocolate Strawberry Constellation Cups
Highlighted under: Sweet Baking Ideas
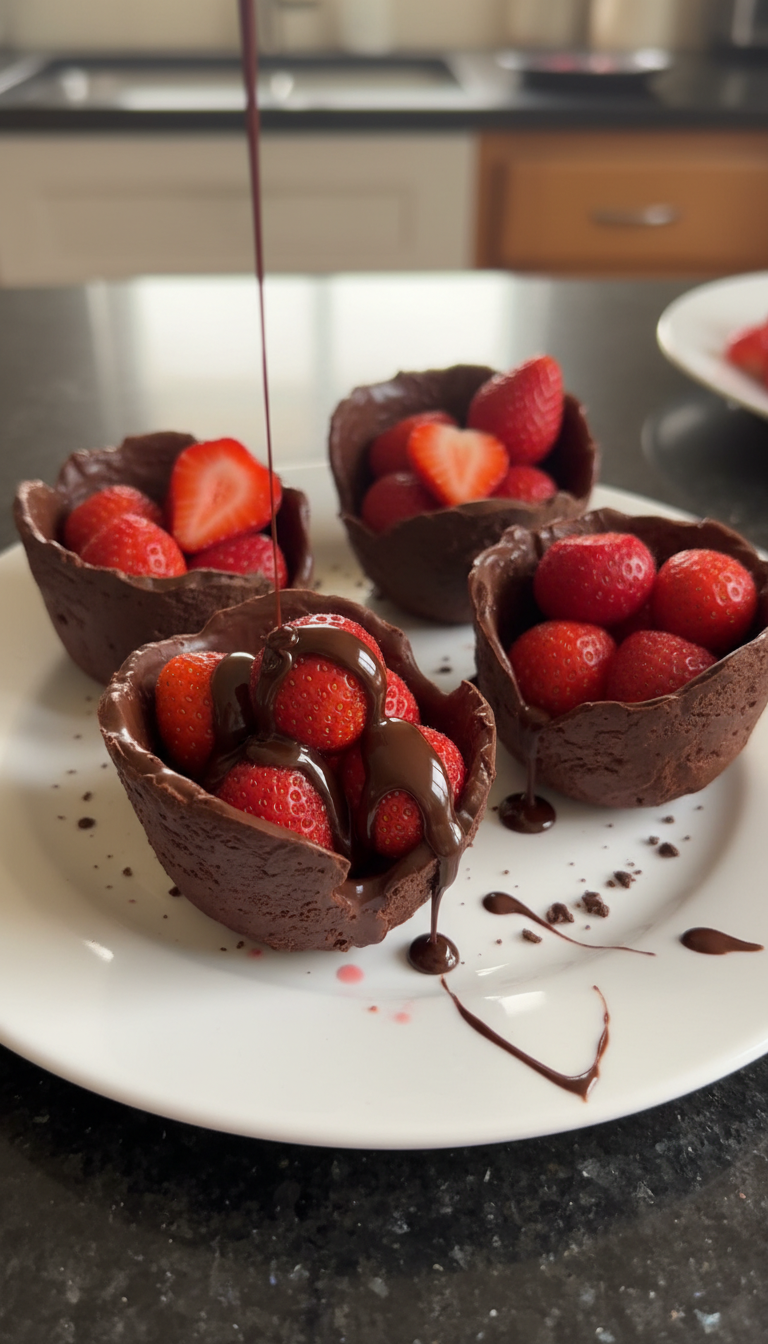
I love making Chocolate Strawberry Constellation Cups! They’re not only a feast for the eyes but also a burst of flavor in every bite. The combination of rich chocolate and fresh strawberries creates a delightful contrast that's perfect for any celebration. Whether it’s a fancy dinner party or just a sweet treat at home, these cups are always a crowd-pleaser. I enjoy experimenting with different toppings and layers, which means every batch can be a little different and even more exciting!
When I first attempted these Chocolate Strawberry Constellation Cups, I was amazed at how simple yet impressive they are. The key to achieving the right balance is using high-quality chocolate and fresh strawberries. While melting the chocolate, stirring consistently ensures a smooth texture without any lumps – trust me, it makes a difference!
After experimenting with various layers, I found that adding a mixture of whipped cream and cream cheese at the bottom creates a creamy base that contrasts beautifully with the strawberries on top. The result? A dessert that not only looks beautiful but also delivers on flavor!
Why You'll Love This Recipe
- Decadent chocolate paired with juicy strawberries.
- Customizable layers for a unique twist.
- Perfect for parties or a cozy night in.
The Art of Melting Chocolate
Melting chocolate is a delicate process crucial for achieving the right texture in your Chocolate Strawberry Constellation Cups. Using a double boiler is ideal, as it allows for gentle heat distribution that prevents burning. Keep the water simmering, not boiling, and stir occasionally for even melting. The chocolate should become glossy and smooth. If it begins to seize or clump, a tiny dab of vegetable oil can help restore its silky consistency, ensuring a perfect coat for your cups.
Be mindful when pouring the melted chocolate into the silicone cups; a spoon will help control the amount you use. Swirling the chocolate inside the cups requires some finesse; aim for a coating that's neither too thick nor too thin. If the layer is too thick, it can be heavy and hard to bite into; too thin, and it may crack upon removal. After chilling for about 30 minutes, the chocolate should be firm enough to hold its shape while still being easy to peel from the silicone.
Choosing Your Strawberries
Selecting the right strawberries for your Chocolate Strawberry Constellation Cups can elevate their flavor and presentation. Look for firm, ripe strawberries that are brightly colored and scented, as they’ll add not only sweetness but also a vibrant visual contrast against the dark chocolate. I prefer medium-sized strawberries for this recipe; they fit perfectly in the cups without overwhelming the chocolate layers. Avoid any with soft spots or blemishes, as they can spoil the taste and texture of your dessert.
If strawberries are out of season, consider using other fruits like raspberries or diced kiwi. These substitutions can introduce new flavors while retaining the fresh element that balances the rich chocolate. You can also macerate the berries in a sprinkle of sugar and a dash of lemon juice for about 15 minutes before layering; this intensifies their flavor and adds a delightful juiciness, contrasting beautifully with the creamy filling.
Storage and Make-Ahead Tips
These Chocolate Strawberry Constellation Cups can be prepared a day in advance, making them an excellent choice for parties or gatherings. Once assembled, cover them with plastic wrap and store them in the refrigerator. They typically last for up to two days; just keep an eye on the strawberries, as they may start to lose firmness over time. For optimal texture, serve them as fresh as possible while ensuring the chocolate remains firm and the cream retains its fluffiness.
If you’re looking to make larger batches, you can easily double the ingredients, but remember to adjust your chilling time accordingly. Using larger silicone molds or muffin tins can also change the portion size. When ready to serve, consider garnishing each cup with a mint leaf or a sprinkle of cocoa powder for an appealing look. Each of these details will not only enhance presentation but also add layers of flavor that your guests will appreciate.
Ingredients
Start your delightful creation with fresh ingredients:
For the Cups
- 200g dark chocolate
- 100g white chocolate
- 4 strawberries (sliced)
- 100g whipped cream
- 50g cream cheese
Remember, feel free to add other fruits or toppings as you like!
Instructions
Follow these steps to create your beautiful dessert:
Prepare the Chocolate
Melt the dark chocolate in a double boiler until smooth. Once melted, pour a spoonful into silicone cups. Swirl it around to coat the sides and create an even layer. Place the cups in the fridge to set.
Mix the Cream Cheese
In a bowl, combine the cream cheese and whipped cream until smooth. This will be your creamy filling. Once the chocolate has set, spoon this mixture into the chocolate cups.
Layer the Strawberries
Top the cream mixture with the sliced strawberries, arranging them as you like. This adds a fresh kick that balances the chocolate.
Finish with White Chocolate
Melt the white chocolate and drizzle it over the assembled cups for a decorative finish. Let them chill in the fridge for another 10 minutes before serving.
Enjoy your delicious Chocolate Strawberry Constellation Cups!
Pro Tips
- Experiment with different flavors by adding a hint of mint or a splash of citrus to your cream mixture.
Troubleshooting Chocolate
Burnt chocolate is a common issue that can happen if the heat is too high during melting. Always monitor the water temperature and remove the bowl from the heat as soon as the chocolate is mostly melted; let residual heat do the rest. If you accidentally burn the chocolate, it’s often best to start over, as there’s no fix for that distinct bitter flavor.
On the other hand, if the melted chocolate becomes too thick while cooling, you can gently reheat it over the double boiler, adding a small splash of cream or milk to bring it back to a workable state. This technique keeps it smooth and ensures that it can be easily poured into your molds.
Serving Suggestions
When serving your Chocolate Strawberry Constellation Cups, consider a beautiful platter lined with fresh mint leaves or edible flowers; this not only enhances the visual appeal but also complements the flavors. A light dusting of cocoa powder or a drizzle of chocolate sauce over the top can further elevate the presentation.
For a fun twist, you could offer a toppings bar. Set out crushed nuts, coconut flakes, or even different types of fruit purees as options for guests to personalize their cups. This interactive element is especially great for events where guests can customize their desserts to their liking, making it a memorable experience.
Questions About Recipes
→ Can I use milk chocolate instead of dark chocolate?
Yes, but the dessert will be sweeter. Dark chocolate adds a richer flavor.
→ How long can I store the chocolate cups?
They can be stored in the fridge for 2-3 days, but they are best enjoyed fresh.
→ Can I make these cups in advance?
Absolutely! You can prepare the cups a day ahead and assemble them just before serving.
→ What other fruits can I use?
You can use raspberries, blueberries, or even add a layer of banana for variation.
Chocolate Strawberry Constellation Cups
Created by: The Dishhaven Team
Recipe Type: Sweet Baking Ideas
Skill Level: Intermediate
Final Quantity: 4 servings
What You'll Need
For the Cups
- 200g dark chocolate
- 100g white chocolate
- 4 strawberries (sliced)
- 100g whipped cream
- 50g cream cheese
How-To Steps
Melt the dark chocolate in a double boiler until smooth. Once melted, pour a spoonful into silicone cups. Swirl it around to coat the sides and create an even layer. Place the cups in the fridge to set.
In a bowl, combine the cream cheese and whipped cream until smooth. This will be your creamy filling. Once the chocolate has set, spoon this mixture into the chocolate cups.
Top the cream mixture with the sliced strawberries, arranging them as you like. This adds a fresh kick that balances the chocolate.
Melt the white chocolate and drizzle it over the assembled cups for a decorative finish. Let them chill in the fridge for another 10 minutes before serving.
Extra Tips
- Experiment with different flavors by adding a hint of mint or a splash of citrus to your cream mixture.
Nutritional Breakdown (Per Serving)
- Calories: 320 kcal
- Total Fat: 22g
- Saturated Fat: 12g
- Cholesterol: 40mg
- Sodium: 70mg
- Total Carbohydrates: 28g
- Dietary Fiber: 2g
- Sugars: 24g
- Protein: 4g