Velvet Vanilla Bean Cheesecake
Highlighted under: Sweet Baking Ideas
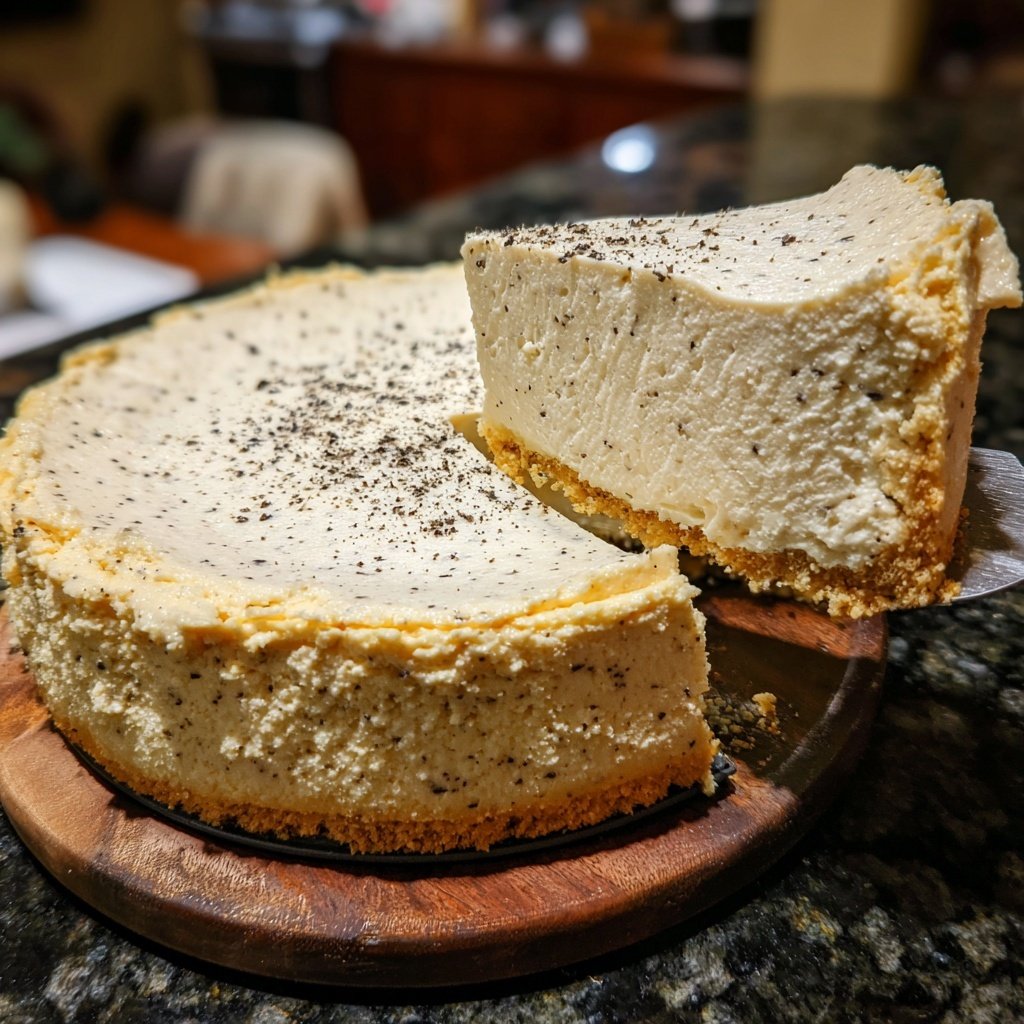
I absolutely adore this Velvet Vanilla Bean Cheesecake! It's a delightful blend of creamy texture and rich vanilla flavor that truly captivates the senses. Every bite is a decadent experience, and I've found it to be the perfect dessert to impress family and friends at any gathering. The silky smoothness of the filling, combined with the buttery crust, creates a harmony that makes this cheesecake irresistible. Trust me, once you try it, you'll be hooked and wanting to make it for every occasion.
When I set out to create this Velvet Vanilla Bean Cheesecake, I knew I wanted to showcase the deep flavor of vanilla while maintaining a textural balance that didn't overpower the palate. By incorporating both fresh vanilla beans and high-quality vanilla extract, I achieved a seamless blend that made each slice even more enjoyable. The trick lies in baking the cheesecake in a water bath, ensuring it stays moist and doesn’t crack.
I remember sharing this cake with some friends during a brunch gathering, and it vanished quickly! To elevate it further, consider topping it with fresh berries or a drizzle of chocolate ganache. The combination of flavors is fantastic!
Why You Will Love This Recipe
- Decadent vanilla flavor that shines through every bite
- Creamy, velvety texture that's incredibly satisfying
- Perfect for any celebration, from birthdays to dinner parties
Understanding the Ingredients
Each component of this Velvet Vanilla Bean Cheesecake plays a crucial role in achieving the desired texture and flavor. The cream cheese is the base of the filling, offering a rich texture. For the best results, ensure it's at room temperature before mixing; this prevents lumps and allows for a smooth batter. If you're looking for a lower-fat alternative, Neufchâtel cheese can be substituted, but it will slightly alter the richness.
The use of fresh vanilla beans in this recipe is highly recommended, as they bring an intense flavor and aroma that extracts can't replicate. Scraping the seeds from the beans not only enhances the visual appeal of the cheesecake with charming little specks but also infuses a deeper vanilla essence throughout the filling. If you’re in a pinch, however, you can replace each vanilla bean with approximately 1 teaspoon of high-quality vanilla extract.
Perfecting the Baking Process
Baking the cheesecake in a water bath is essential for achieving a silky texture without cracks. The steam generated during baking helps maintain moisture, preventing the cheesecake from drying out. To create a proper water bath, wrap the outside of your springform pan in aluminum foil to seal it. Then, place it in a larger pan filled with hot water about halfway up the sides of the springform pan. Monitor carefully to ensure the water doesn’t evaporate during the baking time.
Once you remove the cheesecake from the oven, let it cool gradually with the oven door ajar. This gentle cooling process helps prevent sudden temperature changes that can cause cracking. After an initial hour in the oven, transferring it to the fridge for at least four hours (or overnight) not only helps it set properly but also enhances the flavors, making each bite even more delightful.
Ingredients
For the crust and filling of this exquisite cheesecake, gather the following ingredients:
Crust
- 1 ½ cups graham cracker crumbs
- ⅓ cup sugar
- ½ cup unsalted butter, melted
Filling
- 4 (8 oz) packages cream cheese, softened
- 1 cup sugar
- 4 large eggs
- 2 teaspoons vanilla extract
- 2 vanilla beans, seeds scraped
- 1 cup sour cream
Once you've gathered all these ingredients, you're ready to make a delightful cheesecake that will wow your taste buds!
Instructions
Follow these steps to create your Velvet Vanilla Bean Cheesecake:
Prepare the Crust
Preheat your oven to 350°F (175°C). In a mixing bowl, combine graham cracker crumbs, sugar, and melted butter. Press this mixture firmly into the bottom of a 9-inch springform pan to form the crust.
Bake the Crust
Bake the crust in the preheated oven for 8-10 minutes, until lightly golden. Remove and let it cool while you prepare the filling.
Make the Filling
In a large bowl, beat the softened cream cheese until smooth. Gradually add sugar and beat until fluffy. Add eggs one at a time, mixing well. Incorporate the vanilla extract and scraped seeds from the vanilla beans, then stir in the sour cream.
Add Filling to Crust
Pour the filling over the cooled crust in the springform pan, smoothing the top with a spatula.
Bake the Cheesecake
Place the springform pan in a baking dish filled with boiling water (for a water bath) and bake for 60 minutes, or until the center is set but still slightly jiggly.
Cool and Serve
Turn off the oven, crack the door, and let the cheesecake cool in the oven for 1 hour. Take it out, cool completely, then refrigerate for at least 4 hours before serving. Garnish as desired.
Enjoy your homemade Velvet Vanilla Bean Cheesecake with your favorite toppings and watch it become everyone's favorite dessert!
Pro Tips
- For best results, use room temperature ingredients to ensure a smooth filling. Also, avoid overmixing after adding the eggs to prevent cracks during baking.
Serving Suggestions
For an elegant presentation, consider topping your Velvet Vanilla Bean Cheesecake with a fruit compote or fresh berries. Strawberries or blueberries provide a lovely contrast to the creamy filling and add a burst of freshness. Alternatively, a drizzle of chocolate sauce or a sprinkle of crushed nuts can provide a satisfying textural contrast, making the cheesecake even more indulgent.
In addition to serving it as a standalone dessert, this cheesecake pairs beautifully with coffee or dessert wines. A cappuccino complements the richness of the cheesecake, while a sweet dessert wine can elevate the experience, making it suitable for special occasions or gatherings. Slice it into small portions, as its richness means a little goes a long way!
Make-Ahead and Storage Tips
This cheesecake can easily be made a day or two in advance, making it an excellent choice for busy hosts. After it has cooled and set in the refrigerator, cover it tightly with plastic wrap to prevent any absorption of odors from the fridge. When you're ready to serve, simply remove it from the fridge and add any desired toppings before slicing.
If you have leftovers, the cheesecake can be stored in the refrigerator for up to a week. For longer storage, wrap individual slices in plastic wrap and place them in an airtight container, then freeze for up to three months. To enjoy, thaw overnight in the refrigerator. I’ve found that the texture remains remarkably creamy even after freezing, so don’t hesitate to make a double batch!
Questions About Recipes
→ Can I make this cheesecake in advance?
Yes! This cheesecake actually tastes better after a day in the fridge, so feel free to make it a day ahead of your event.
→ Can I freeze this cheesecake?
Absolutely! Just make sure to wrap it tightly with plastic wrap and then foil. It can be stored in the freezer for up to 3 months.
→ What can I substitute for sour cream?
You can use plain Greek yogurt or crème fraîche as a substitute for sour cream in this recipe.
→ How do I prevent my cheesecake from cracking?
Baking the cheesecake in a water bath helps to maintain moisture and gentle heat, which can prevent cracks.

Velvet Vanilla Bean Cheesecake
Created by: The Dishhaven Team
Recipe Type: Sweet Baking Ideas
Skill Level: Intermediate
Final Quantity: 12 slices
What You'll Need
Crust
- 1 ½ cups graham cracker crumbs
- ⅓ cup sugar
- ½ cup unsalted butter, melted
Filling
- 4 (8 oz) packages cream cheese, softened
- 1 cup sugar
- 4 large eggs
- 2 teaspoons vanilla extract
- 2 vanilla beans, seeds scraped
- 1 cup sour cream
How-To Steps
Preheat your oven to 350°F (175°C). In a mixing bowl, combine graham cracker crumbs, sugar, and melted butter. Press this mixture firmly into the bottom of a 9-inch springform pan to form the crust.
Bake the crust in the preheated oven for 8-10 minutes, until lightly golden. Remove and let it cool while you prepare the filling.
In a large bowl, beat the softened cream cheese until smooth. Gradually add sugar and beat until fluffy. Add eggs one at a time, mixing well. Incorporate the vanilla extract and scraped seeds from the vanilla beans, then stir in the sour cream.
Pour the filling over the cooled crust in the springform pan, smoothing the top with a spatula.
Place the springform pan in a baking dish filled with boiling water (for a water bath) and bake for 60 minutes, or until the center is set but still slightly jiggly.
Turn off the oven, crack the door, and let the cheesecake cool in the oven for 1 hour. Take it out, cool completely, then refrigerate for at least 4 hours before serving. Garnish as desired.
Extra Tips
- For best results, use room temperature ingredients to ensure a smooth filling. Also, avoid overmixing after adding the eggs to prevent cracks during baking.
Nutritional Breakdown (Per Serving)
- Calories: 380 kcal
- Total Fat: 26g
- Saturated Fat: 15g
- Cholesterol: 195mg
- Sodium: 85mg
- Total Carbohydrates: 32g
- Dietary Fiber: 3g
- Sugars: 24g
- Protein: 6g