Decadent Chocolate Layer Cake
Highlighted under: Sweet Baking Ideas
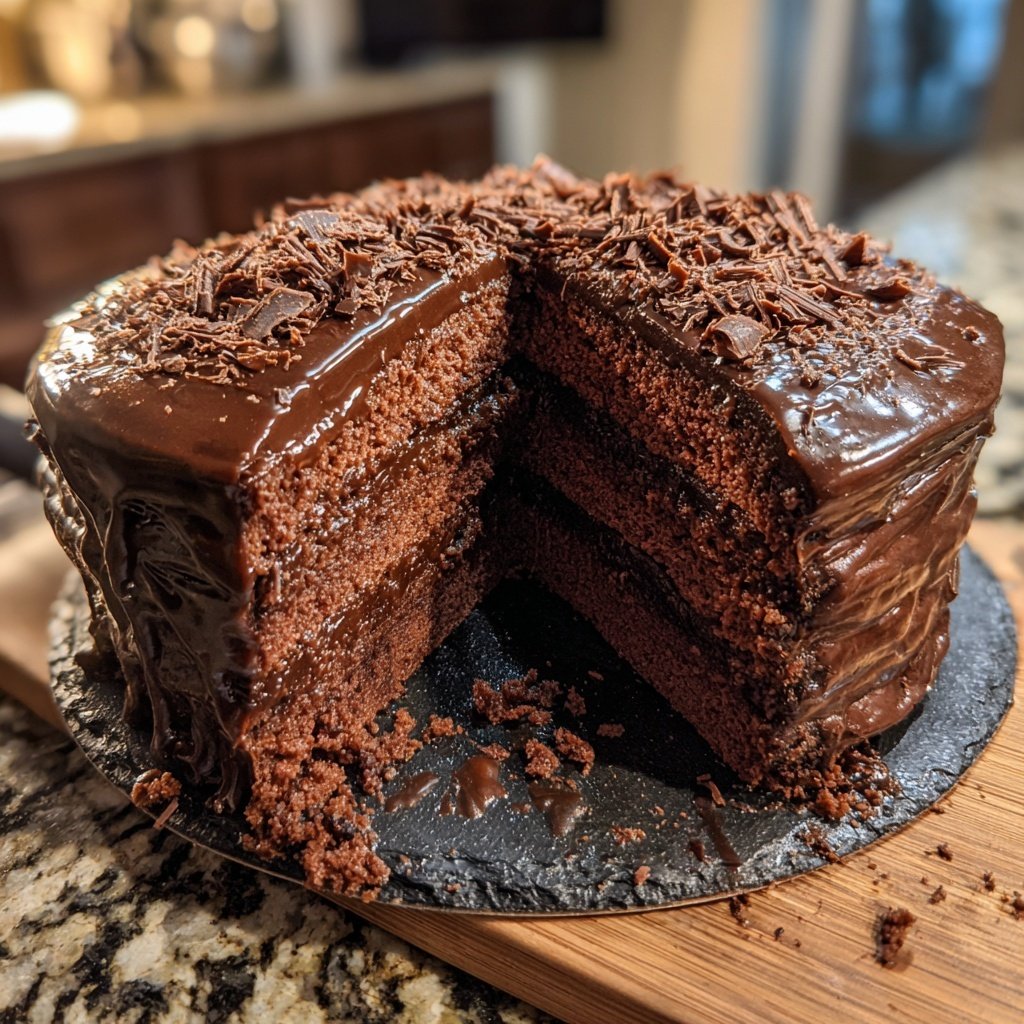
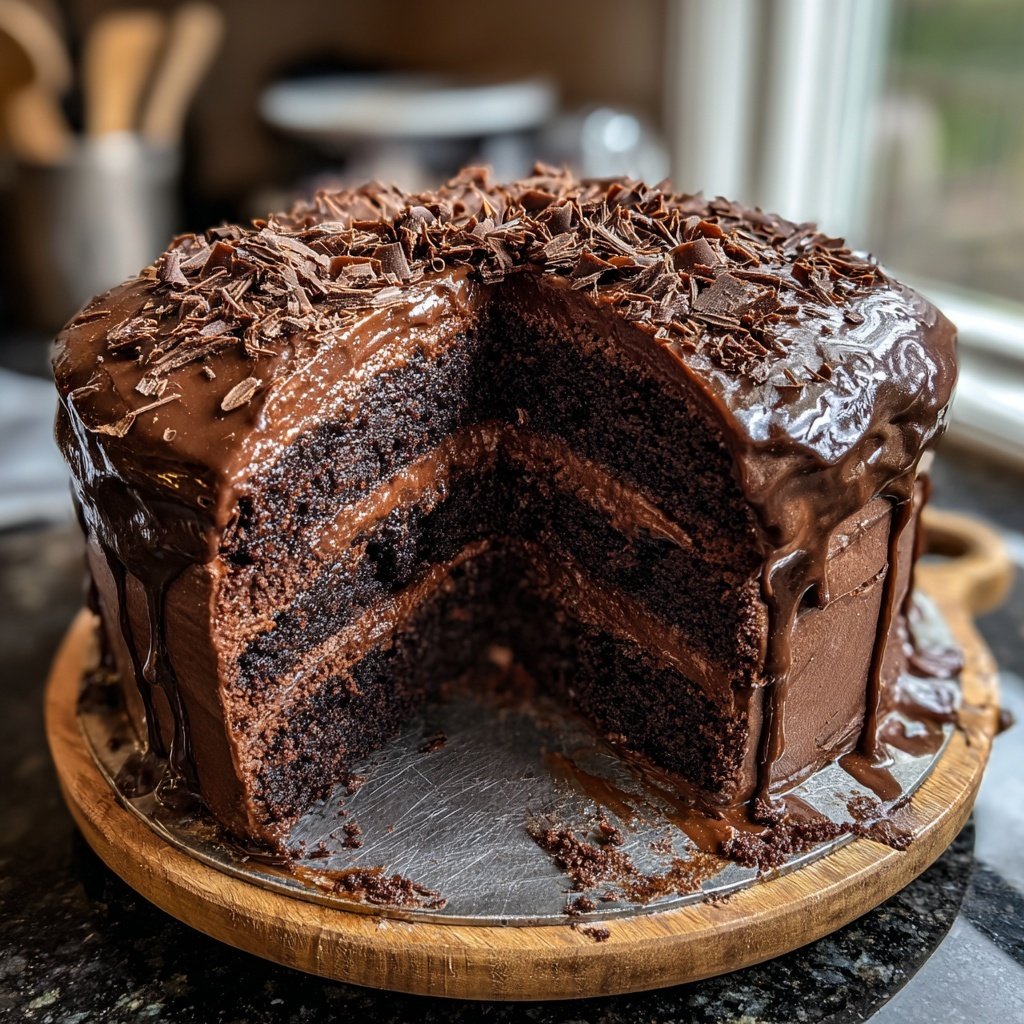
I absolutely love making this Decadent Chocolate Layer Cake! The rich chocolate flavor combined with the luscious layers of frosting creates a dessert that leaves everyone wanting more. Each bite is a delightful experience, especially when paired with a scoop of ice cream. Over the years, I’ve refined this recipe to ensure it never fails to impress, whether it’s a birthday party or a simple family gathering. I promise, once you try it, you’ll want to make it for every occasion!
When I first attempted to master the art of cake making, I stumbled upon what I believe is the ultimate crowd-pleaser: the Decadent Chocolate Layer Cake. The trick lies in using high-quality cocoa powder, which makes all the difference in flavor and depth. I've experimented with different brands, and now I always recommend using a Dutch-processed cocoa for its rich notes that truly elevate the cake.
One of my favorite details about this recipe is the way it utilizes hot water in the batter. This simple addition ensures the cake remains moist and tender. The layering process is equally important; I always chill the layers before frosting to prevent any slipping. It’s a bit of extra effort, but the results are stunning and absolutely worth it!
Why You Will Love This Cake
- Intensely rich chocolate flavor with a smooth, creamy finish
- Gorgeous layered presentation that is sure to impress guests
- Perfectly moist texture that stays fresh for days
Mastering the Chocolate Flavor
The backbone of this Decadent Chocolate Layer Cake lies in its rich chocolate content. Using high-quality cocoa powder not only enhances the cake's flavor but also contributes to its sumptuous color. I recommend using Dutch-processed cocoa for a deeper, more complex taste. Whisking the cocoa powder thoroughly with the dry ingredients ensures there are no lumps, helping the cake to achieve a smooth texture when baked.
Another tip for elevating the chocolate flavor is to use fresh eggs and high-quality vanilla extract. The freshness of the ingredients impacts the overall taste of your cake. For added depth, consider incorporating a tablespoon of espresso powder into the batter; it amplifies the chocolate notes without adding a coffee flavor. Remember, the quality of your base ingredients will shine through in the final product.
Perfecting Your Cake Layers
Achieving perfectly baked layers is crucial, and timing is key. Bake the cake layers until they spring back gently when pressed in the center and a toothpick inserted into the middle comes out clean or with a few moist crumbs. If you notice the tops doming too much, gently press them down with a clean kitchen towel once they’ve cooled slightly; this can help create even layers for frosting.
Cooling your cakes completely on wire racks is essential to prevent sogginess. If you're short on time, placing the cakes in the refrigerator for about 30 minutes can expedite cooling. Once cooled, make sure to slice off any domed tops if you're looking for even layers. This extra step ensures a professional look and makes frosting much easier.
Frosting Techniques for Stunning Layers
The frosting is just as important as the cake itself. I recommend cooling the frosting for about 10-15 minutes in the refrigerator before applying it to the cake. This makes it easier to spread and can help avoid the infamous 'cake crumbs' from getting mixed into your frosting layers. Use an offset spatula to apply frosting smoothly, starting from the center and working your way out to the edges.
If you're aiming for a polished finish, consider a crumb coat first – a thin layer of frosting that traps any loose crumbs. After chilling the cake for about 15 minutes to set the crumb coat, apply a thicker layer of frosting. For added flair, you can incorporate chocolate shavings or sprinkles around the sides for a beautiful presentation. Trust me, it enhances not just the look, but also the eating experience!
Ingredients
Gather all the necessary ingredients before starting to make the process smoother:
Cake Ingredients
- 2 cups all-purpose flour
- 2 cups granulated sugar
- 3/4 cup cocoa powder
- 1 1/2 tsp baking powder
- 1 1/2 tsp baking soda
- 1 tsp salt
- 2 large eggs
- 1 cup whole milk
- 1/2 cup vegetable oil
- 2 tsp vanilla extract
- 1 cup hot water
Frosting Ingredients
- 1 cup unsalted butter, softened
- 3 1/2 cups powdered sugar
- 1/2 cup cocoa powder
- 1/2 cup heavy cream
- 1 tsp vanilla extract
Make sure to measure your ingredients accurately for the best results!
Instructions
Follow these steps to create your homemade cake:
Prepare the Cake Batter
Preheat your oven to 350°F (175°C). Grease and flour two 9-inch round cake pans. In a large bowl, combine the flour, sugar, cocoa powder, baking powder, baking soda, and salt. Add the eggs, milk, oil, and vanilla extract, and mix until smooth. Carefully stir in the hot water until well combined.
Bake the Cake Layers
Pour the batter evenly into the prepared pans. Bake for 30-35 minutes or until a toothpick inserted comes out clean. Allow the cakes to cool in the pans for 10 minutes, then transfer to wire racks to cool completely.
Make the Frosting
In a mixing bowl, beat the softened butter until creamy. Gradually add powdered sugar and cocoa powder, alternating with heavy cream until the frosting reaches your desired consistency. Mix in vanilla extract.
Assemble the Cake
Once the cakes are completely cool, place one layer on a serving plate. Spread a generous amount of frosting on top, then add the second layer. Frost the top and sides of the cake. Decorate as desired.
Once assembled, allow the cake to set in the fridge for at least 30 minutes before serving to enhance the flavors.
Pro Tips
- Use a serrated knife to level the tops of the cooled cake layers for a neat finish. Also, adding a pinch of salt to the frosting can help balance the sweetness.
Storage Tips
Proper storage is crucial for keeping the cake moist and flavorful. After frosting, cover the cake with an airtight container or a cake dome to prevent it from drying out. If stored in a cool environment, it can last for up to five days on the counter and can last even longer if refrigerated. However, be mindful that refrigeration may alter the frosting's texture slightly.
For longer storage, you can freeze the un-frosted layers. Wrap each layer tightly in plastic wrap and then in aluminum foil to prevent freezer burn. They can be frozen for up to three months. When ready to use, simply thaw the layers overnight in the refrigerator and frost as desired for a fresh dessert.
Variations and Serving Suggestions
To give your Decadent Chocolate Layer Cake a unique twist, consider filling the layers with fresh berries or a fruit compote. The tartness of the fruit beautifully balances the richness of the chocolate. You could also alternate layers of vanilla or peanut butter frosting for a delightful surprise. If you’re feeling adventurous, adding a layer of gourmet caramel sauce can elevate this dessert to an even higher level.
Serving recommendations include warm slices paired with vanilla ice cream or a drizzle of chocolate ganache. You could also serve the cake alongside a dollop of whipped cream for that extra touch of elegance. Additionally, dusting the top with powdered sugar or cocoa powder can provide a beautiful finish that is worth the effort.
Questions About Recipes
→ Can I use a different type of flour?
Yes, you can use cake flour for a lighter texture, but the measurements may vary slightly.
→ How do I store leftovers?
Store the cake in an airtight container at room temperature for up to three days, or in the fridge for up to a week.
→ Can I make this cake ahead of time?
Absolutely! You can bake the layers a day in advance and frost them just before serving.
→ What can I use instead of eggs?
You can replace eggs with unsweetened applesauce (1/4 cup per egg) or any egg substitute of your choice.
Decadent Chocolate Layer Cake
Created by: The Dishhaven Team
Recipe Type: Sweet Baking Ideas
Skill Level: Intermediate
Final Quantity: 12 servings
What You'll Need
Cake Ingredients
- 2 cups all-purpose flour
- 2 cups granulated sugar
- 3/4 cup cocoa powder
- 1 1/2 tsp baking powder
- 1 1/2 tsp baking soda
- 1 tsp salt
- 2 large eggs
- 1 cup whole milk
- 1/2 cup vegetable oil
- 2 tsp vanilla extract
- 1 cup hot water
Frosting Ingredients
- 1 cup unsalted butter, softened
- 3 1/2 cups powdered sugar
- 1/2 cup cocoa powder
- 1/2 cup heavy cream
- 1 tsp vanilla extract
How-To Steps
Preheat your oven to 350°F (175°C). Grease and flour two 9-inch round cake pans. In a large bowl, combine the flour, sugar, cocoa powder, baking powder, baking soda, and salt. Add the eggs, milk, oil, and vanilla extract, and mix until smooth. Carefully stir in the hot water until well combined.
Pour the batter evenly into the prepared pans. Bake for 30-35 minutes or until a toothpick inserted comes out clean. Allow the cakes to cool in the pans for 10 minutes, then transfer to wire racks to cool completely.
In a mixing bowl, beat the softened butter until creamy. Gradually add powdered sugar and cocoa powder, alternating with heavy cream until the frosting reaches your desired consistency. Mix in vanilla extract.
Once the cakes are completely cool, place one layer on a serving plate. Spread a generous amount of frosting on top, then add the second layer. Frost the top and sides of the cake. Decorate as desired.
Extra Tips
- Use a serrated knife to level the tops of the cooled cake layers for a neat finish. Also, adding a pinch of salt to the frosting can help balance the sweetness.
Nutritional Breakdown (Per Serving)
- Calories: 380 kcal
- Total Fat: 26g
- Saturated Fat: 15g
- Cholesterol: 195mg
- Sodium: 85mg
- Total Carbohydrates: 32g
- Dietary Fiber: 3g
- Sugars: 24g
- Protein: 6g